5. Installation
This chapter describes the process of installing a binary version of AGX Dynamics.
The name of the installation executable informs you of the build environment used when building the libraries:
agx-setup-<version>-<platform>-<compiler>-<precision>.exe
For example:
agx-setup-2.30.0.0-x64-VS2019-double.exe
5.1. Install AGX in Windows
Start the installation executable.
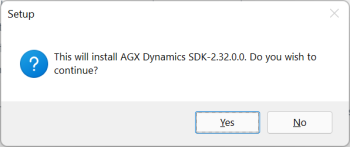
Fig. 5.1 After the splash screen you will get a verification question (if you have UAC enabled) which will show you a verified installer from Algoryx Simulation.
If you have a prior installation of AGX you will get a query regarding uninstalling that version. It is recommended that you do so.
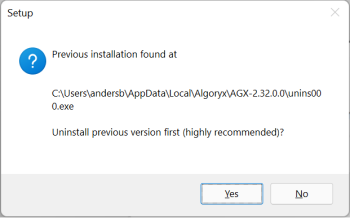
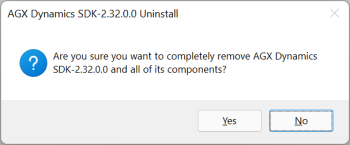
Fig. 5.3 Next is the uninstall window, just press Yes to remove the previous installation.
If you have created additional files, such as CMake, visual studio project files etc, they will not be removed. You will have to manually remove these files.
Fig. 5.4 Uninstall window.

Fig. 5.5 Message indicating uninstall is performed. When the uninstall is finished the installer will continue with the installation of AGX.
To continue the installation of AGX Dynamics, you need to read and accept the License Agreement.
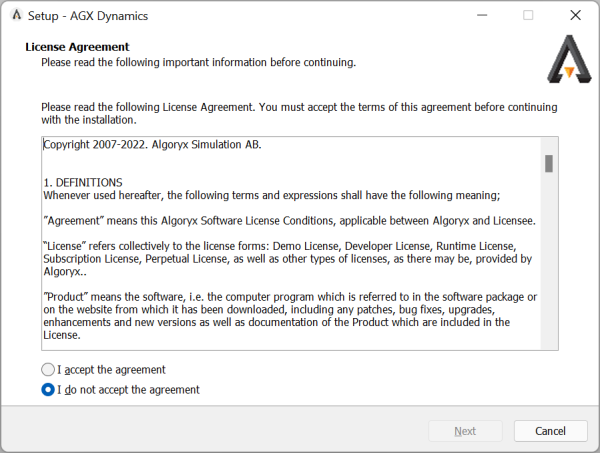
Fig. 5.6 License agreement.
Next is the installation options. Here various options for the installation are listed. If you are not going to utilize the Python API, you can uncheck the “Install python libraries” and leave the download of ROS2 unchecked. If you need to authorize a license, then check the box for “Run the license authorization program?”.
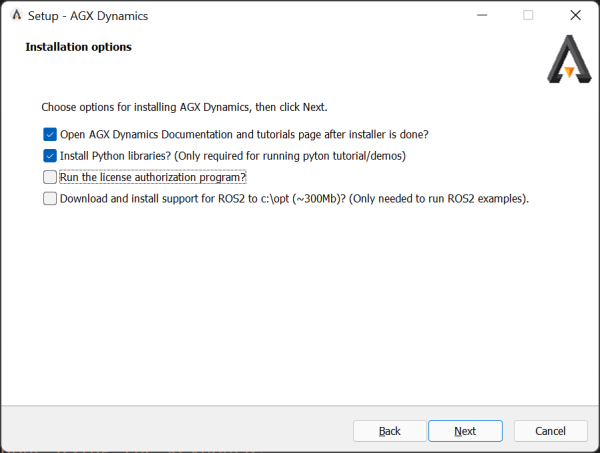
Fig. 5.7 Installation options.
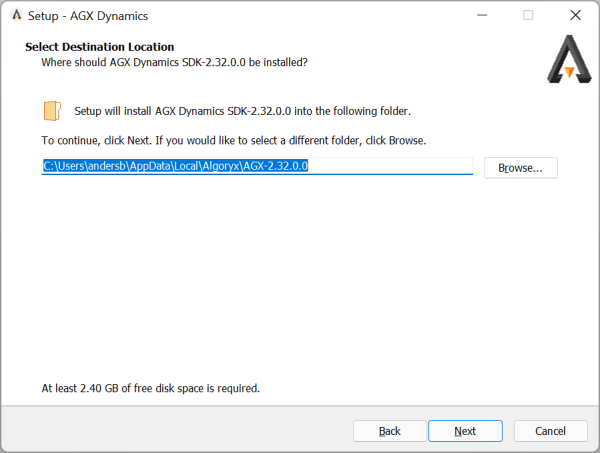
Fig. 5.8 Install destination
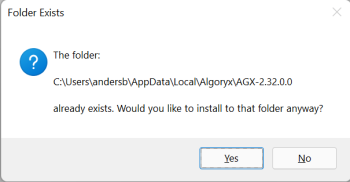
Fig. 5.9 If the target directory exists, you might get a final overwrite verification.
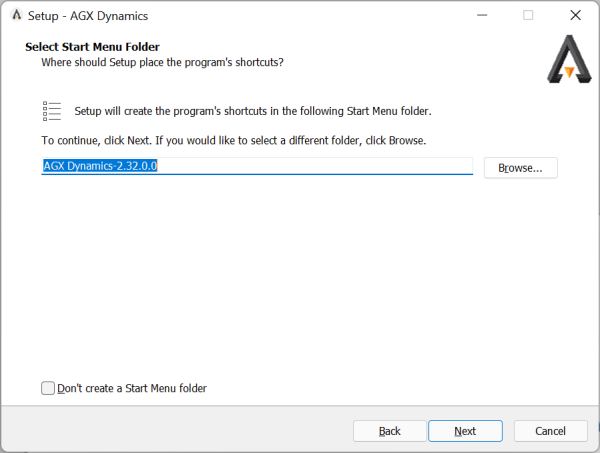
Fig. 5.10 Name of entry in Start menu
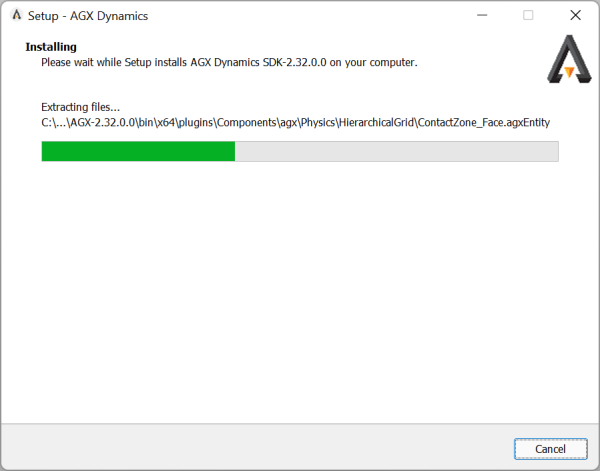
Fig. 5.11 Install in progress.

Fig. 5.12 AGX Dynamics successfully installed.
5.1.1. Post install
If the option for downloading ROS2 was checked, a progress bar for downloading the complete ROS2 package is shown. After the download is complete, a command window where the files are unzipped will be started.
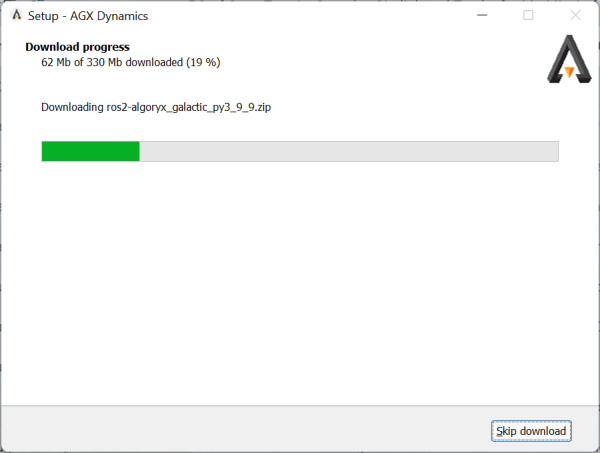
Fig. 5.13 Install in progress.
If the option for the license authorization was checked, a window that shows the license manager will be displayed.
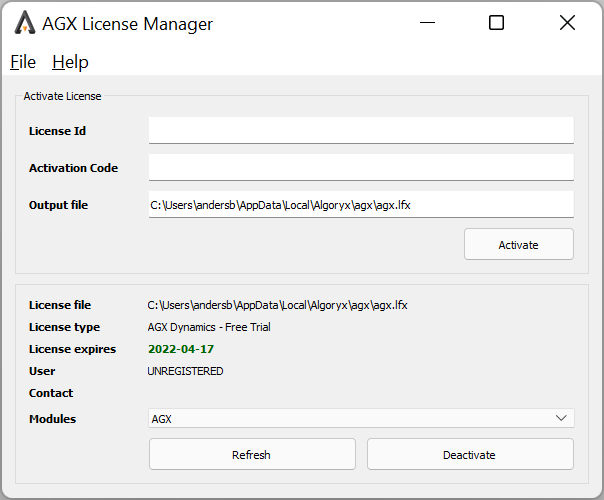
Fig. 5.14 License authorization tool.
If the option for installing python libraries was checked, a command window with the installation will be shown.
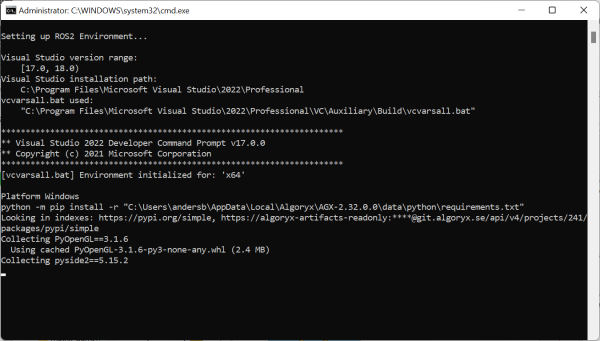
Fig. 5.15 Installing python libraries.
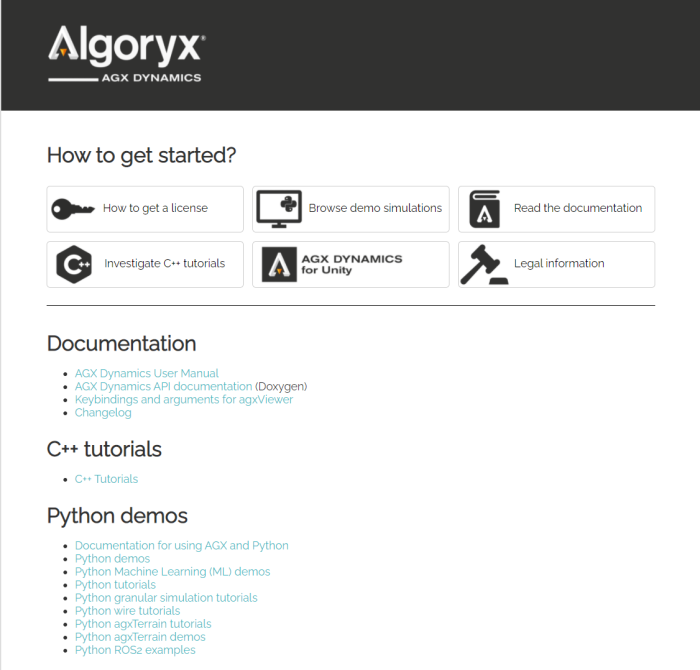
After the installation is done and the option for opening documentation page was checked, the AGX Dynamics startup page will appear with documentation, tutorials and examples.
5.2. Install on Ubuntu 20.04
Different Linux distributions and versions might have different installation procedures. The procedure described here matches the one used for installing a deb-file on Ubuntu 20.04.
By default, AGX Dynamics is installed into /opt/Algoryx/AGX-<version>
$ sudo apt-get update  # Refresh package lists if needed
  ...
$ sudo apt install ./agx-${AGX_VERSION}-amd64-ubuntu_20.04.deb
      Reading package lists... Done
      Building dependency tree
      Reading state information... Done
      Note, selecting 'agx' instead of 'agx-${AGX_VERSION}-amd64-ubuntu_20.04.deb'
      The following additional packages will be installed:
  ...
      Suggested packages:
  ...
      The following NEW packages will be installed:
  ...
      0 upgraded, 56 newly installed, 0 to remove and 0 not upgraded.
      Need to get 36.8 MB/517 MB of archives.
      After this operation, 2847 MB of additional disk space will be used.
      Do you want to continue? [Y/n]

$ ls /opt/Algoryx/AGX-${AGX_VERSION}/
      AGX_build_settings.txt  LICENSE.TXT  applications     conanfile.txt  include         swig
      CMakeLists.txt          README.TXT   bin              data           lib             tutorials
      CMakeModules            agxOSG       build-info.json  doc            setup_env.bash
You need to manually place your AGX license in the installation directory. Also, before running any AGX simulation the shell environment must be updated with some environment variables. Do this by starting a bash shell and execute the following command:
> source /opt/Algoryx/AGX-<version>/setup_env.bash
AGX binaries and libraries use embedded rpath information to help locate needed shared libraries. The environment script previously set LD_LIBRARY_PATH but has been updated to no longer do so. If your usecase has trouble finding the needed libraries, the following can be used after sourcing the environment script:
> export LD_LIBRARY_PATH:$LD_LIBRARY_PATH:/opt/Algoryx/AGX-<version>/lib
You can then start the tutorial applications or load Python scripts using agxViewer:
$ agxViewer data/python/cables.agxPy
The Linux package also install desktop files which most window managers will find automatically. Via these desktop files, the window manager will show menu options in the development section which help locate AGX API documentation, the user manual and the tutorials/demos.
5.3. Install on MacOS
To install AGX on MacOS, double click the downloaded installer file and follow the instructions. The installed AGX environment will be available in /opt/Algoryx/AGX-<version>.
NOTE: AgxTerrain is currently not supported on MacOS
To use AGX with python, you must have Python3.8 installed on your machine, using the homebrew package manager
> brew install python@3.8
You need to manually place your AGX license in the installation directory. Also, before running any AGX simulation the shell environment must be updated with some environment variables.
Do this by starting a bash shell and execute the following command:
> source /opt/Algoryx/AGX-<version>/setup_env.bash
You can then start the tutorial applications or load Python scripts using agxViewer:
> agxViewer data/python/cables.agxPy
5.4. Installing license
To learn how to use the license system, please read chapter Section 7.1.